Monday, March 24, 2014

Trailing Links and Fuel Cel

Fuel Cel inspection shows fresh foam

Today the fuel cel was opened and inspected. The findings were encouraging as the foam within was nearly unblemished and fresh. The inspection cover was torqued back to 36 lbs to prevent any leaks. Both uprights were bead blasted and painted and the trailing links were inspected on the lathe for straightness. 3 out of 4 o the trailing links were slightly out of round so we decided to replace all 4 with new chromolly rods from Prince Racecar Engineering. He will also ship us all new Aurora A Series rod ends. The rear suspension is slowly coming to completion in terms of checking, replacing and refinishing.


Axle Joints


Axle joints which were covered with surface rust were thoroughly cleaned, bead blasted and then painted. Both bearings in the uprights will need replacement. The tie-downs were able to squeeze the chassis together to make it as straight as possible. Today the new aluminum floor will be cut from the old steel floor template.


Friday, March 21, 2014

Banana


Carefully measuring the chassis we realize that we are dealing with a banana - not much of one, yet still, the frame is not 100% straight. Lining up lasers and steel guides we realize that the lower part of the chassis frames are about 1/8th of an inch out of true. This is not much for a 36 year old race car but we want to get it perfect. With the help of two tie-downs we squeeze the frame together and after one night of settling the frame is straight as can be. Next step is again disassembling the lower suspension, changing all the bearing, checking all hardware and starting the process of fabricating a strong lower chassis plate.


The Move


With my friend Charlie Munche's help we yesterday we moved the Lola chassis cum parts by van to Mark Wehrman Engineering. This place is the mecca of high end race cars and Mark has half a century of knowledge in this field which is unsurpassed. With his guidance and help we hope to finish the car soon.

Sunday, March 2, 2014

The Kent engine - Part II


Our Kent 1600cc engine is complete and will be bench tested this week at Midnight Auto in New Jersey. Amongst many new and refurbished top end components the power unit has been freshened by installing Mahle pistons, a Williams crank and a new  Cosworth oil pump. Pete Mc Carthy of Midnight Auto will be helping us install the engine next week. 


Wednesday, February 5, 2014

About "Spacers" and Mahle Pistons


Lola T-440's have a tubular steel frame and steel floor pan. The fiberglass body consists of 3 panels which wrap the car and give it an aerodynamic shape. The original car's wheel base was lengthened by the use of a "spacer" which was supposed to improve the handling. It was later thought that rather the opposite was achieved and the hanfdling became unpredictable beyond the limit of grip. Many racers have therefore removed it. We will leave our spacer in our car and only after tracking it will decide if we want to leave it out of the build.

As the winter rages on in New York the engine build is continuing. The specially built Mahle pistons have arrived last week and are now at the machienist. As soon as the snow clears the Ford Cortina block will be retrieved and the assembly started.

Friday, December 6, 2013

Lola's Heart


The heart of our Lola will be the engine which Peter Mc Carthy from Midnight Auto in NJ will be building. As all Formula Fords it has a 4 cylinder 1600 cc Ford Kent engine. We cannot modify anything as we are building it to a stock racing class. When fully built and restored the engine will produce between 100-110 hp. For a car that weighs less than 1000 lbs it provide sub 5 seconds 0-60mph accelaration and over 1.2 G of cornering  :-))))


Sunday, November 17, 2013

Oil System


Trying to piece together the oil system has proven to be quite the challenge, due to the fact that I seem to be missing more than half the pieces. However, the oil tank itself seems to be easy enough to fabricate out of a lightweight aluminum, which is our next step forward. Unfortunately, it looks like the rest of the parts will have to be outsourced.

Sunday, October 27, 2013

Chassis painted


Today was a marathon session. What took us nearly 2 months to figure out and build - we removed in less than 3 hours ! It almost seems we are working backwards. Steering, chassis components and suspension were disassembled and filed away for future use. We gave the chassis a final sand and cleaned it with brake cleaner before using 4 cans of black Rustoleum paint. Now the frame looks 1000 times better and is a great base to start our restoration.


Sunday, October 6, 2013

Steering, Instrument Panel and Suspension Completed


Both fron and rear suspensions have been completed as well as gear selector and steering. New aircraft hardware has arrived which will replace many of the missing nuts and bolts. Next step will be pedal assembly , brakes and clutch. Once this is done everthing will be dissasembled again and catalogued in order to strip and paint the frame. At that point we will do any chassis modifications such as stiffening the lower tub by riveting in a stronger floor and moving the fuel cel from the side pods to a safer location which is behind the driver.


Tuesday, September 24, 2013

Rear Suspension


1978 original Lola factory hand drawn schematics

This week I concentrated on the rear suspension. Luckily we were able to obtain original factory schematics for the car and following them was easy. The biggest challenge is the hardware which is mostly missing. I found a supplier of aircraft nuts (Aircraft Spruce) and bolts from whom I am purchasing the missing parts. 

Thursday, September 5, 2013

Chassis

Today we did some more sanding of the chassis which still shows allot of rust in areas that were hard to reach the first time around. Since we ran out of nuts and bolts we did an inventory and will order some aircraft quality ANS fittings so we can proceed. We noticed that there were abandoned insect colonies in the water and oil gauges which we need to either renew or have reconditioned.


Monday, September 2, 2013

Mystique of an old race car

My dad took some photos with his big camera of the Lola. I think the pictures capture the scars that the car received in battles throughout the last 3 decades. He feels that there is a something romantic about reviving an old race car...I think I know what he means.


Sunday, September 1, 2013

The Plan

Before restoring the car we want to assemble it in order to asses what needs to be modified, repaired or renewed. This way, we feel is the only way we can determine what we are dealing with as everything is in boxes. Since my dad, my brother and myself are all tall we plan to move the seat back and place fuel tank behind driver. This apparently has been done by other Lolas.


This picture shows the completed front and part of the rear suspension. Most hardware will be replaced with ANS aircraft high grade fasteners.


After we have "dry fitted" the car we will disassemble and catalog every part so that re-assembly will only take a fraction of the time it took to put it together. We will then strengthen chassis by adding steel tubing and sand it down, prime and lacquer it. Friends tell us lacquer is better than powder coating as it shows stress cracks by flaking off. A friend of my dad will build the engine to FC specs and help him put it in the car around Christmas. The body work will need allot of work and the nose is missing - but we can have that refinished in my dads boat building shop. We hope to have the Lola running by Spring.

Front Suspension

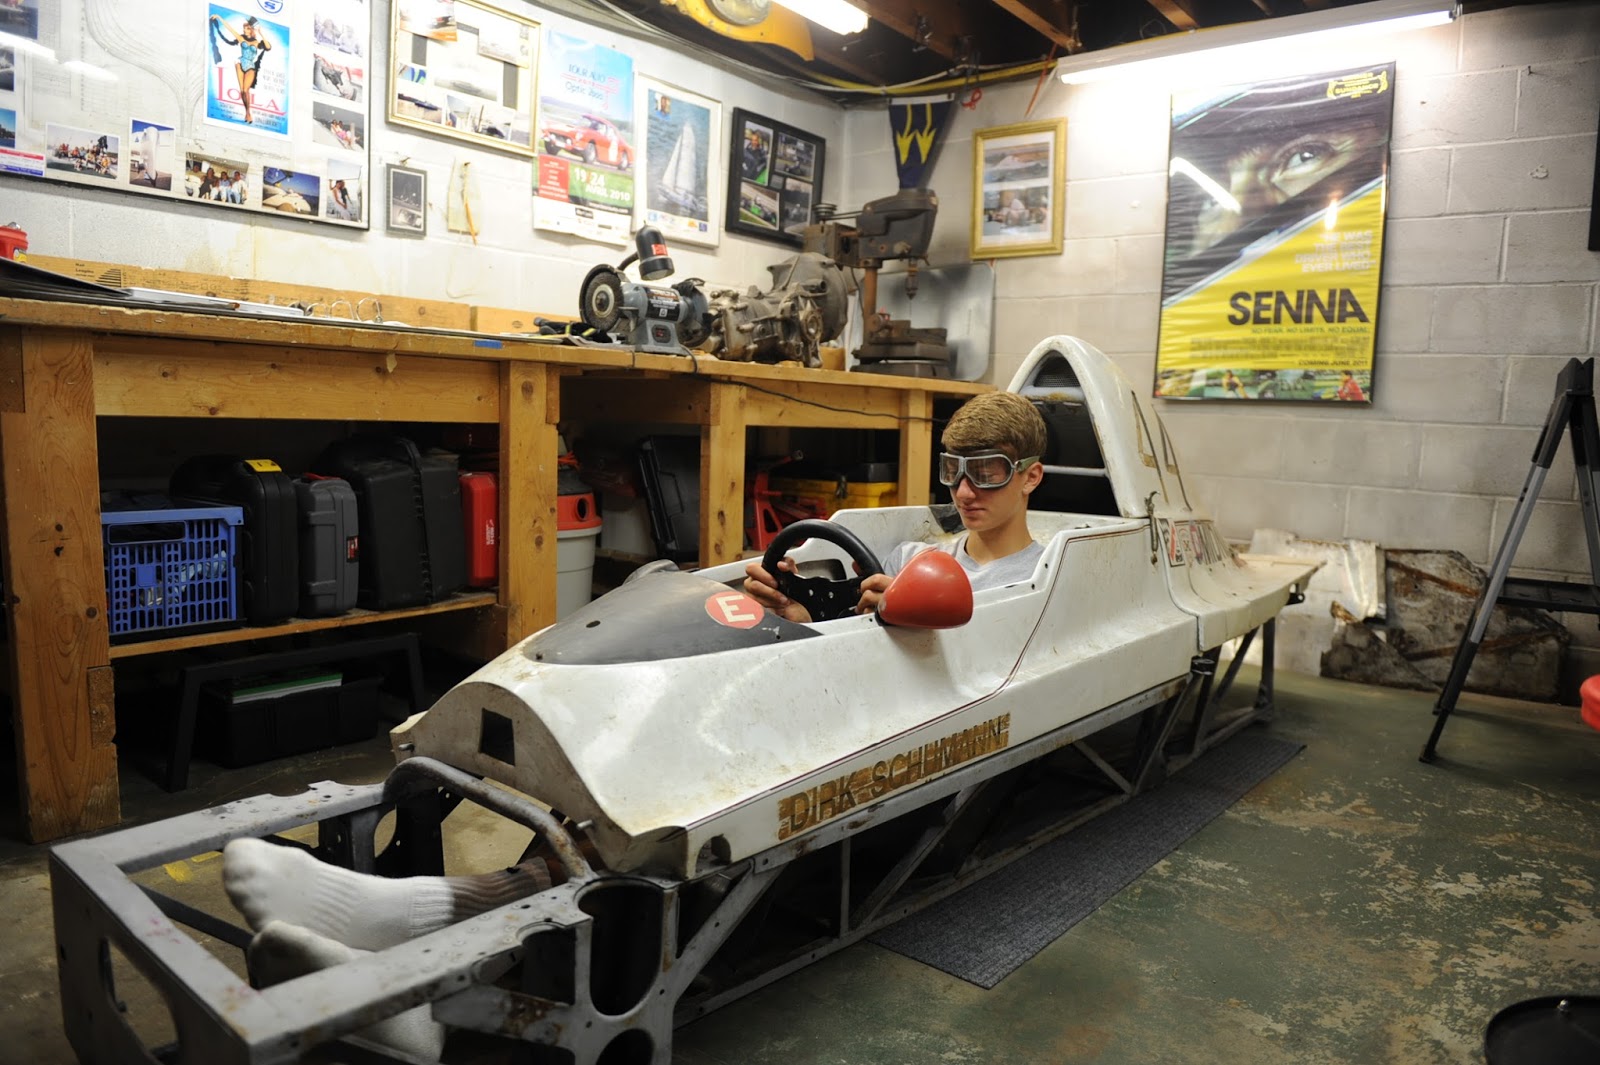
After treating entire chassis with anti rust treatment to stabilize the oxidation on the frame rails we thoroughly washed the car. Of course we sat in it and tried it on for size. Surprisingly roomy for such a small racer. Then we started assembling the front left suspension. It took us about 5 hours to figure out what goes where and only about 45 minutes to build.  Well, at the end it looked like we did a pretty decent job. Just as we started to get proud of ourselves we realized that we used the uprights from the right side. Well, here is a photo with the wrong ones still in place...we will change it out tomorrow.